Filling and removing false nails with the electric file
Today, your nail supply expert Maryton will tell you how to properly maintain your nails with the electric file and perform filling or removal. Keep reading!
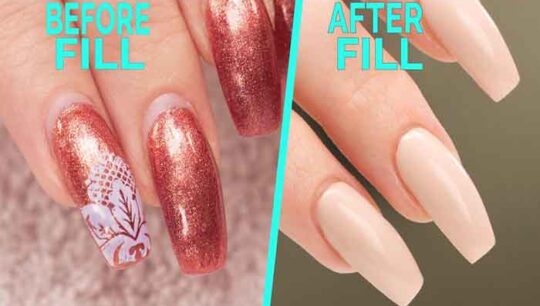
First of all, after 1 or 2 weeks, some areas of the covering may lift. As infiltrations are always discouraged, it is essential to remove them to avoid fungal infections. You can then proceed to the filling which is recommended every 2 or 3 weeks, in order to replace the stress point in the right place.
Now, with a sanding band or the same cylinder used for the raised parts, gradually thin the covering towards the cuticles, taking care not to dig into the natural nail plate. If necessary, you can reduce the length with a medium-grit sanding belt. Using a diamond cylinder, tilt the cutting end and follow the pencil line. Again remove the thickness on the tip following the new curve of the nail. Remove any dust and you can proceed to filling.
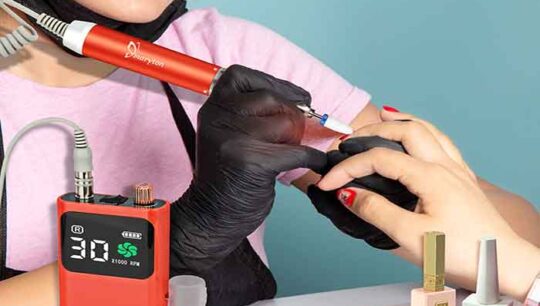
To completely remove the cover, trim the nail to the desired length. Set the electric nail drill to medium speed and sand using a medium sanding cylinder or diamond cylinder. It is best to leave a thin layer of product so as not to affect the natural nail. Finish the nail shape with a traditional file, wash your hands and moisturize the cuticles with an oil. Finally, you can treat your nails with a fortifying treatment!
So, will you be tempted by the electric nail drill? What are you waiting for? Take action with your manicure sets!
Read also: Nail-Art trend ideas summer 2022
Source:


